
Ingredients:
- 1 cup unsalted butter, at room temperature
- 1/3 cup granulated sugar
- 1/2 cup light brown sugar
- 1 large egg yolk
- 2 teaspoons pure vanilla extract
- 2-1/2 cups all-purpose flour
- 1/2 teaspoon salt
- 1-1/2 cups semi-sweet mini chocolate chips (I thought this was too much for the shot glasses and just used 1 cup – still plenty of chocolate chips in there!)
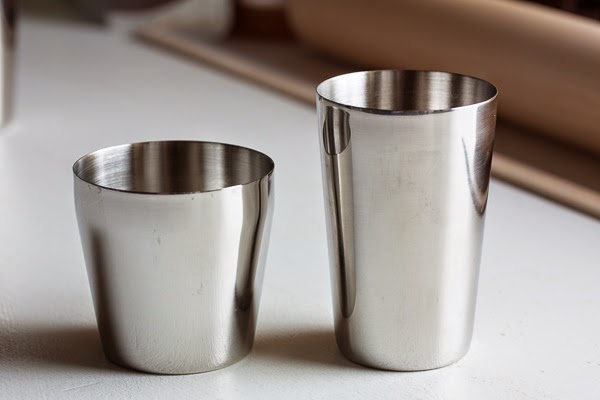
- oven-safe moulds
- chocolate to coat the insides of the cups
Methods:
PREPARING THE DOUGH
- In a medium bowl, whisk together the flour and salt. Set aside.
- In the bowl of a stand mixer fitted with the paddle attachment, beat the butter and sugars together on medium speed until light and fluffy, about 3 or 4 minutes. Scrape down the sides of the bowl and add the egg yolk and vanilla and beat to incorporate.
- Turn the mixer down to low and add the dry ingredients, mixing until just barely combined. Remove from the mixer and knead in the mini chocolate chips by hand to ensure they're distributed evenly.
- Divide the dough into 2 portions. Roll each portion out onto a piece of parchment or wax paper to just shy of 1/4" thickness (I used a 3/16" guide). Stack the 2 pieces (paper included) onto a baking sheet and refrigerate for at least 30 minutes
ASSEMBLING THE COOKIES
- When ready to bake, preheat the oven to 350°F.
- Prepare your moulds by brushing the insides with shortening.
- Remove one of the dough pieces from the fridge at a time (keeping the dough chilled will help prevent spreading in the oven). Use a small circle cookie cutter to create a shape for the bottom of the cup. Then cut out multiple strips slightly more than the height of your mould to create the sides.
- Drop the cut-out circle into the bottom of your mould, and then press the strips into the mould, along the sides, slightly overlapping the bottom to create a seal. Continue adding strips and pressing them together, working your way around the mould until you've created a complete cup shape.
- Place your moulds on a baking sheet and bake for a few minutes longer than whatever your original recipe calls for – in this case, about 13-17 minutes. Keep an eye on them – they will begin to brown around the top edge when they're done. Be sure not to underbake these – you want a sturdy cookie to hold your milk.
- Remove from the oven and place the moulds on a cooling rack. When they're cool enough to handle, turn the moulds upside down and pat the bottom a few times to get the cookie to drop out. You may need to squeeze the sides a bit to get the cookie to loosen.
FINISHING THE CUPS
- Gently melt the chocolate in a small microwave safe bowl or on top of a double boiler, stirring often so it doesn't scorch.
- Working with one cookie cup at a time, pour in a small amount of the melted chocolate. Immediately, swirl the chocolate around a bit and pour out the excess – you don't need a thick layer of chocolate, and a thinner coat will dry quicker. It doesn't matter at this point if the sides are completely coated – this is mostly to ensure the bottom has a good seal. If the sides are coated? Great, you're done! If not, use a butter knife to apply a small amount of chocolate at a time to completely coat the sides. Again, you don't need a thick coat, but you do want to make sure there isn't any cookie exposed.
- Allow the chocolate to dry completely before filling the cups with liquid.


0 comments:
Post a Comment